Introduction
In the world of gaming, having the right equipment can make all the difference. A high-performance gaming PC not only allows you to play the latest titles at stunning graphics but also provides the flexibility to customize your setup according to your needs. Whether you’re a casual gamer or a competitive player, understanding the components and how to build a gaming PC can help you create the ultimate gaming rig. This guide will cover the essential components, considerations for building your gaming PC, and some top recommendations.
Essential Components of a Gaming PC
- Central Processing Unit (CPU):
- The CPU is often referred to as the brain of your PC. It processes instructions and manages tasks. For gaming, a powerful multi-core CPU is essential for handling complex game mechanics and multitasking.
- Top Choices: AMD Ryzen 5 5600X, Intel Core i7-12700K.
- Graphics Processing Unit (GPU):
- The GPU is crucial for rendering graphics and driving visual performance. A strong GPU allows you to enjoy high frame rates and stunning visuals in modern games.
- Top Choices: NVIDIA GeForce RTX 3070, AMD Radeon RX 6700 XT.
- Motherboard:
- The motherboard connects all your components and allows them to communicate. Choose a motherboard compatible with your CPU and supports future upgrades.
- Top Choices: ASUS ROG Strix B550-F, MSI MPG Z490 Gaming Plus.
- Memory (RAM):
- RAM temporarily stores data for quick access. For gaming, 16GB is often considered the sweet spot, though 32GB can provide a performance boost for heavy multitasking.
- Top Choices: Corsair Vengeance LPX 16GB (2 x 8GB), G.Skill Ripjaws V 32GB (2 x 16GB).
- Storage:
- Fast storage is essential for loading games quickly. An NVMe SSD is recommended for your operating system and frequently played games, while a larger HDD can be used for additional storage.
- Top Choices: Samsung 970 EVO Plus NVMe SSD, Seagate Barracuda 2TB HDD.
- Power Supply Unit (PSU):
- The PSU powers all your components. It’s crucial to choose a reliable power supply with enough wattage for your build.
- Top Choices: EVGA SuperNOVA 650 G5, Corsair RM750x.
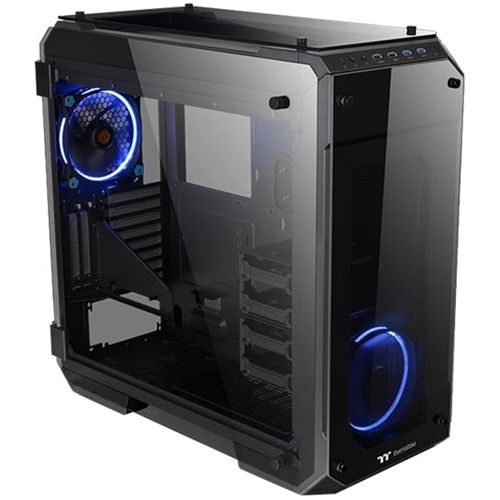
- Case:
- The case houses all your components. Look for one with good airflow and space for future upgrades.
- Top Choices: NZXT H510, Fractal Design Meshify C.
- Cooling System:
- Effective cooling prevents overheating and maintains optimal performance. You can choose between air coolers and liquid cooling systems.
- Top Choices: Noctua NH-U12S (air), Corsair H100i RGB Platinum (liquid).
Considerations When Building Your Gaming PC
- Budget:
- Determine your budget before shopping for components. It’s essential to balance performance and cost to get the best value for your money.
- Compatibility:
- Ensure all components are compatible with each other. Use PC building websites that provide compatibility checks to avoid issues.
- Future Upgrades:
- Consider leaving room for future upgrades. Opt for a motherboard with extra slots and a case with ample space to accommodate new components.
- Cooling and Airflow:
- Good airflow is vital for maintaining performance. Ensure your case supports multiple fans and consider adding extra cooling options if necessary.
- Aesthetics:
- Many gamers enjoy customizing the look of their build. Consider RGB lighting, themed components, and windowed cases to showcase your setup.
Building Your Gaming PC
- Preparation:
- Gather all components and tools (screwdriver, anti-static wristband). Read the manuals for each component to familiarize yourself with the installation process.
- Install the CPU:
- Carefully place the CPU into the motherboard’s socket, aligning it correctly. Lock it in place according to the instructions.
- Attach the CPU Cooler:
- Follow the manufacturer’s instructions for installing the CPU cooler. Proper cooling is essential for optimal performance.
- Install RAM:
- Insert the RAM sticks into the appropriate slots on the motherboard, ensuring they click into place.
- Mount the Motherboard:
- Secure the motherboard in the case using screws provided. Ensure it aligns with the I/O shield at the back.
- Install the GPU:
- Insert the graphics card into the PCIe slot on the motherboard and secure it with screws.
- Connect Storage:
- Install your SSD and HDD, connecting them to the motherboard and PSU as required.
- Wiring:
- Carefully connect all power cables, ensuring they’re secure. Tidy up the cables for better airflow.
- Final Checks:
- Double-check all connections and ensure everything is seated correctly before closing the case.
- Install the Operating System:
- Power on your PC and install your chosen operating system. Follow the prompts to set it up.

